Spoiler alert: it’s a reflection..
A few months ago I tested an idea I’d been kicking around for a year or so. It rarely happens this way, but it came out almost exactly how I imagined it. Thanks in large part to Sunshine and her lovely profile.
Besides loving the image for what it is, one of the coolest things about the shot is that I figured out a way to create the look in camera. “But Steve!” you say, “Surely, you can do this in post and you’re just wasting effort!” To which I reply, “I don’t wanna.”
And don’t call me Shirley.
I’ll spare you the whole story, but basically I needed to find something I could push light through that has a single reflective surface. My first thought was to use glass and put some kind of diffusion behind it, but when you do that you get two slightly offset reflections. And nobody wants that. There’s a translucent acrylic that I use to light through all the time that is slightly opaque and has a glossy side and a matte side, so I decided that would be the best thing. It’s not the perfect solution but it worked well enough to prove the concept.
First you need to hang your translucent/reflective surface and set your camera up so you can see and focus on the subject in the reflection (so yeah, your camera will be pointing away from the subject). Then it’s more or less a two light setup. Shoot a spotlight at the background, centered behind your subject and falling off before the edge of the frame. Then set up a light shooting into the back of your translucent stuff and introduce enough pieces of gel or whatever to cut down the light in the center, otherwise it’ll blow out there and you won’t be able to see the subject.
With the assistance of my friend Dilbert the Dementor you can see what each of those lights is doing and how they work together.
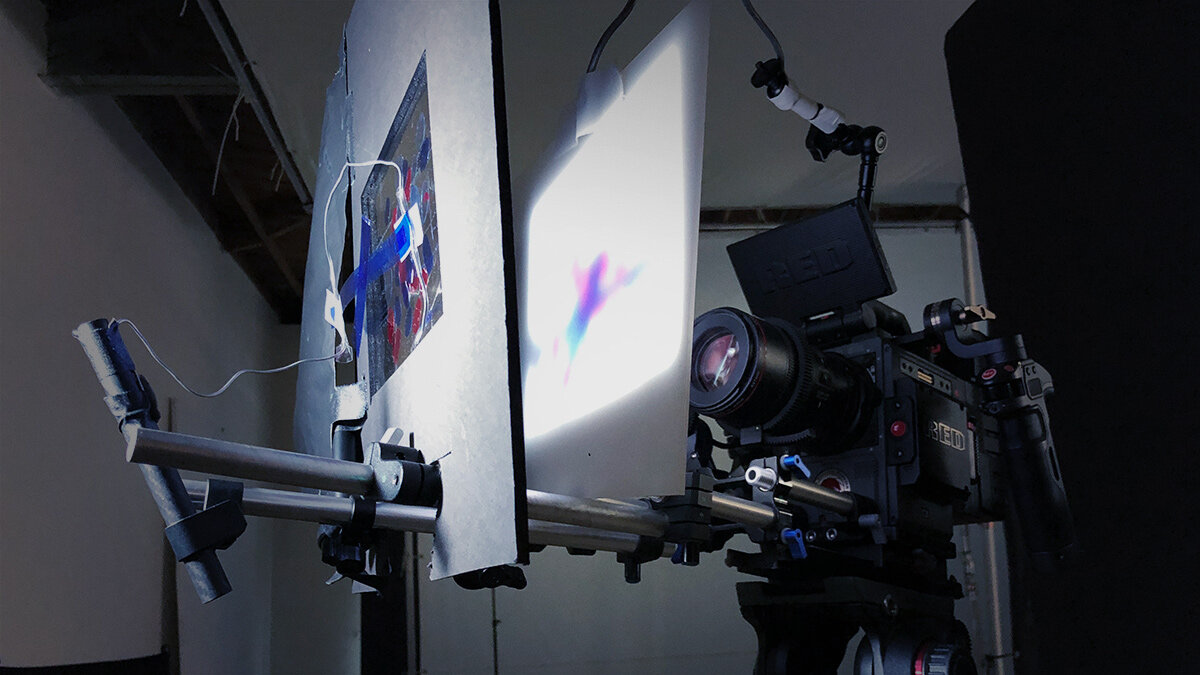
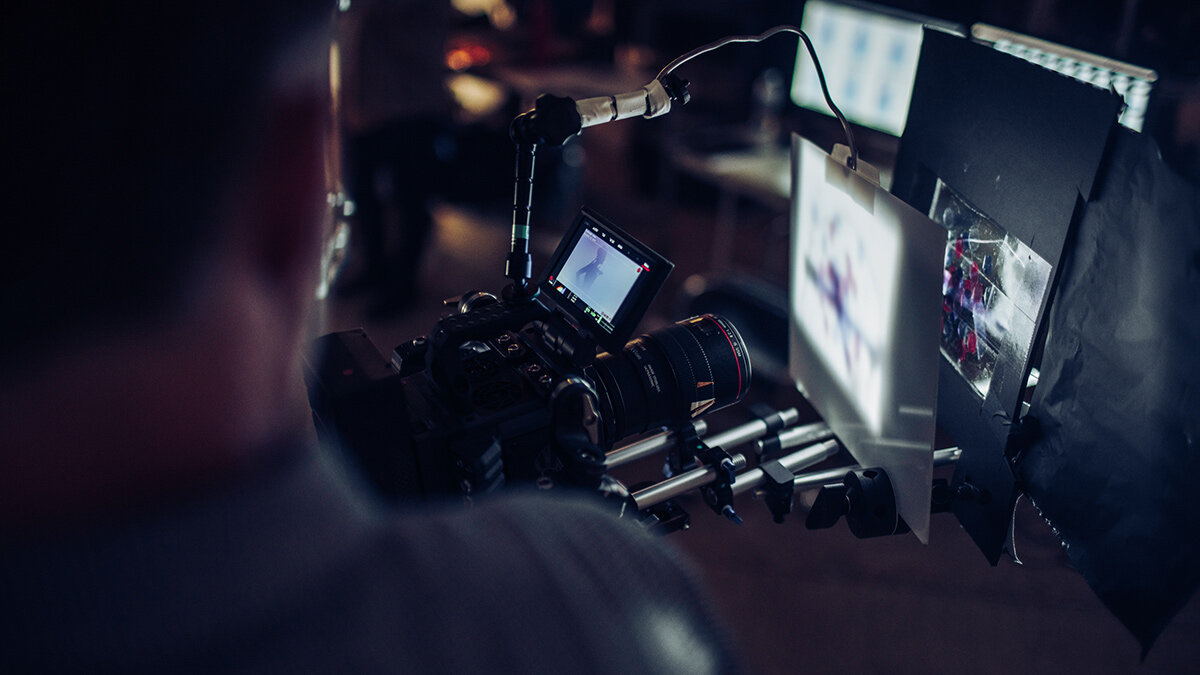
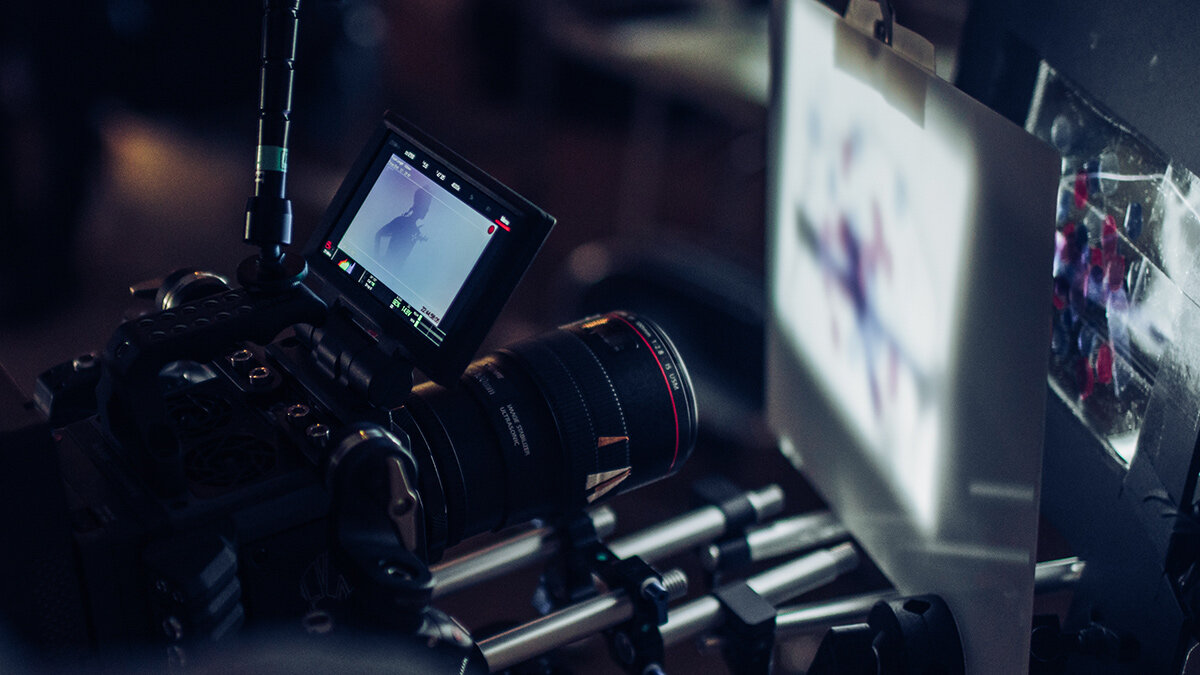
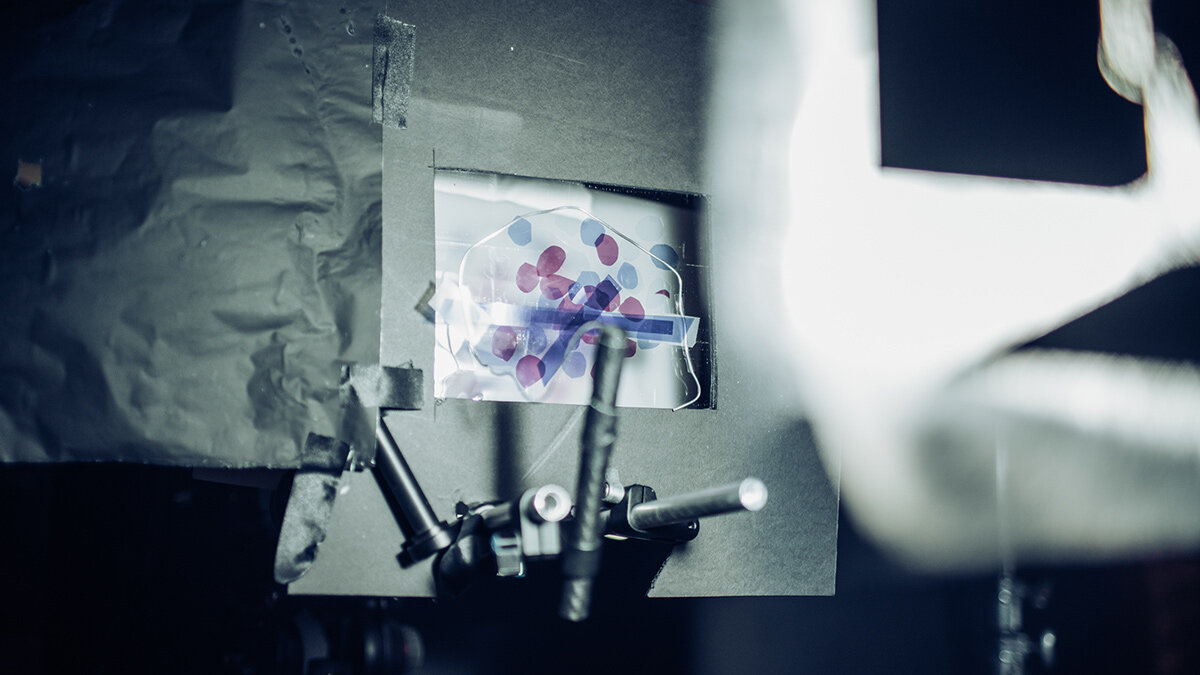
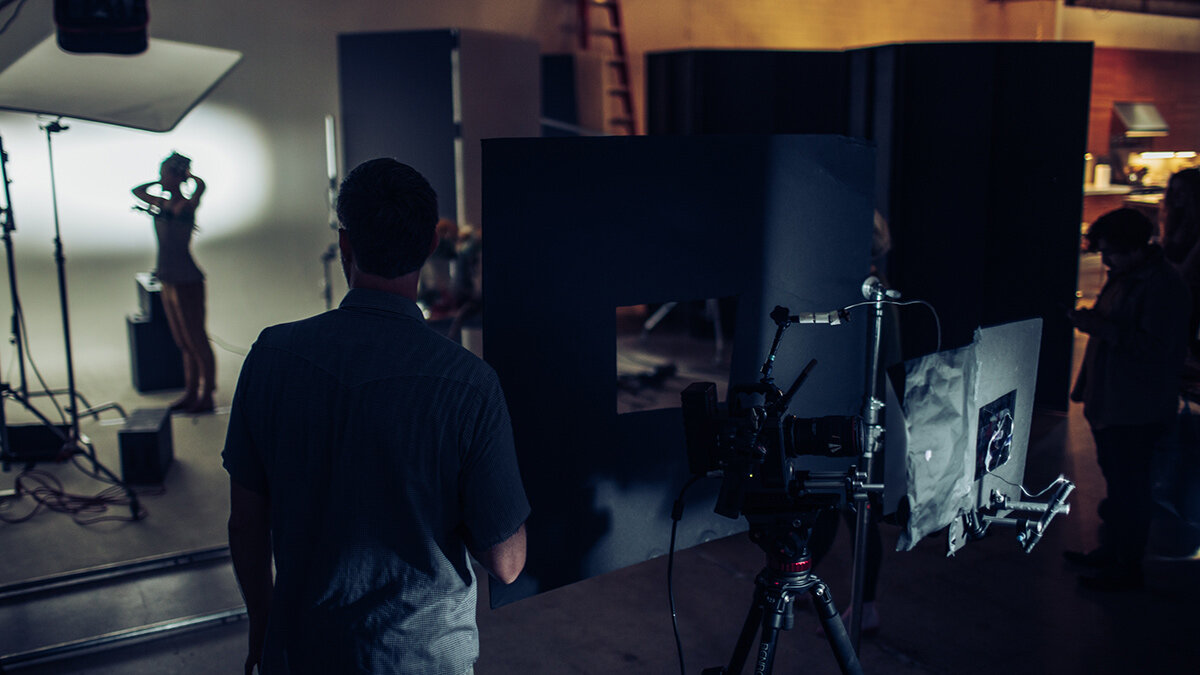
Below are some photos of the way I rigged it up when we shot video. There will be a lot of ways to solve this problem, but to hang the pieces of gel in space I just cut a hole in some foam core and stretched packing tape across it. Seemed to work pretty well. But just that one gel field isn’t enough, you need something else to knock down the exposure in the center. And you will want to move that around. So I stacked up a bunch of gels to hang between the light and the gel field. Support this with a separate stand and you’ll have the flexibility to move it in and out. It’s just trial and error at this point.
Makes perfect sense right!? Easy peasy.
“But Steve, I’m a visual learner!” Well here’s a video from the original test. Forgive me for the vertical crop, I did this for the old Instagram ssssssstory.
I did end up adding a third light over head which looks really good when the subject is not perfectly profile.
Anyway. That’s all I have to say about that.
If you have more questions feel free to reach out.
